Beginners need a properly fitted handcycle that matches your mobility needs—recreational models are ideal for flat terrain while attachable units work with existing wheelchairs. You’ll require safety gear including a certified helmet, reflective clothing, and visibility equipment. Don’t forget comfortable seating with proper positioning, plus gloves to prevent blisters. Start with lighter models (25-30 lbs) that provide stability while you develop strength. The right equipment makes all the difference in your adaptive cycling journey.
Understanding Basic Handcycle Types for New Riders
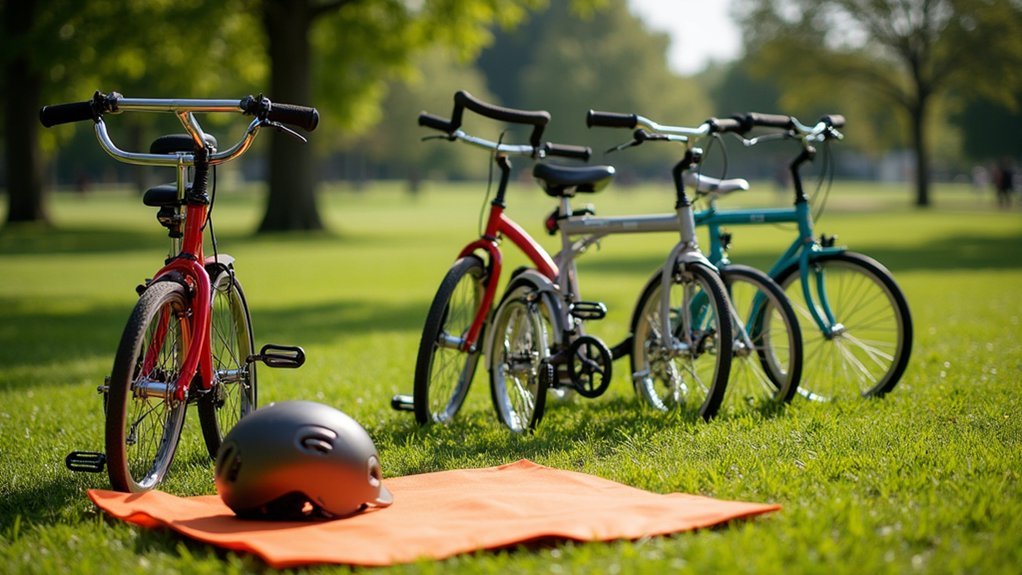
Newcomers to hand-cycling face a world of options designed to match different abilities and preferences.
For those just starting out, recreational handcycles offer an ideal entry point, designed specifically for leisure rides on paved surfaces.
If you’re looking for versatility, consider attachable handcycles that connect directly to your wheelchair, providing convenient conversion into the sport.
Those with limited arm mobility might benefit from e-assist models featuring adaptive controls and power assistance that makes pedaling easier. Many riders find these models excellent for cardiovascular fitness, as they allow for extended riding sessions while still providing a meaningful workout.
For adventurous spirits, off-road handcycles with wider, more durable tires handle rough terrain effectively.
Each type features different propulsion systems—either manual crank systems you’ll power with your arms or electric systems that provide assistance as you ride.
Choose based on where you’ll ride most and your physical capabilities.
Essential Safety Gear for Adaptive Cycling Beginners
Your safety on a handcycle starts with a properly fitted helmet that offers adequate ventilation, secure straps, and protection certified to current safety standards.
You’ll need to make yourself visible to others with reflective clothing, bright safety flags, and lights that function in all weather conditions.
These visibility elements aren’t optional extras but essential components that can prevent accidents, especially when you’re cycling in areas with vehicle traffic or during low-light conditions.
For added security and stability during your rides, consider investing in steering dampers which help maintain control at higher speeds and prevent unexpected handlebar movements.
Essential Helmet Features
Safety begins at the top with a properly designed helmet for adaptive hand-cycling. When selecting your helmet, prioritize models that offer impact absorption through EPS foam and include MIPS technology to reduce rotational forces during falls. The hard outer shell provides crucial protection against potential head injuries during accidents.
Look for options with secure retention systems that keep the helmet firmly in place during your rides.
For maximum comfort during longer outings, you’ll want these key features:
- Adjustable fit systems that accommodate your unique head shape
- Adequate ventilation holes to prevent overheating during intense exercise
- Reflective elements that enhance visibility to others, especially in low light
Don’t compromise on helmet quality—it’s your most essential piece of safety equipment for adaptive hand-cycling adventures.
Visibility Equipment Essentials
While traversing the roads on your adaptive hand-cycle, visibility becomes your lifeline to safety.
You’ll need reflectors on both the front and rear of your cycle to increase visibility in low-light conditions. Install bike lights that comply with night cycling regulations—white in front, red in back.
Consider adding flags or banners to your hand-cycle for enhanced side visibility. These eye-catching accessories guarantee you’re noticed from all angles.
Reflective vests or armbands provide additional protection, especially when you’re in motion. Staying visible to other road users is crucial for maintaining safety while cycling.
For maximum effectiveness, add LED wheel lights or reflective wheel stripes to create side visibility that catches drivers’ attention.
These simple additions dramatically improve your safety profile and help other road users spot you earlier, giving everyone more time to react appropriately.
Choosing the Right Seating and Positioning System
The foundation of a comfortable handcycling experience begins with selecting an appropriate seating and positioning system. Your adaptive handcycle should feature adjustable seats that accommodate your specific needs while allowing free movement.
Consider both trunk support options and pedaling position to guarantee ideal balance and efficiency during rides.
When selecting your setup, focus on:
- Seat design – Look for breathable cushions and ergonomic shapes that prevent discomfort during longer rides.
- Support systems – Choose customizable trunk supports that match your stability needs, especially important if you have spinal injuries.
- Pedaling mechanics – Pay attention to crank-arm length and pedal height, as arm strength requires different adjustments than leg-powered cycling.
Remember that proper positioning considerably impacts both your comfort and performance while handcycling. Local cycle shops and charities can provide invaluable assistance with fitting and adjustments to ensure your handcycle meets your specific requirements.
Transfer Solutions and Accessibility Features
Once you’ve established comfortable seating, you’ll need to address how you actually get onto your handcycle. Learning proper transfer techniques is vital for your independence and safety. Many handcycles feature wheelchair-compatible designs and height-adjustable seats to facilitate smoother transfers. For riders with reduced lower-body strength or paralysis, the wheel size and setup will significantly impact your ability to maneuver and gain traction across different terrains.
| Feature | Benefit | Importance |
|---|---|---|
| Adjustable Controls | Accommodates varying grip strengths | Essential |
| Customizable Crank-Arms | Provides personalized comfort | High |
| Ergonomic Handgrips | Reduces fatigue during rides | Critical |
| Digital Gear Shifters | Simplifies shifting with limited dexterity | Helpful |
| Quad Grips | Offers stability for limited arm strength | Situation-dependent |
Practice transfers regularly to build confidence. Consider joining adaptive cycling programs where experts can guide you through proper transfer techniques and help identify which accessibility features best suit your specific needs.
Budget-Friendly Equipment Options for First-Time Riders

Starting on hand-cycling doesn’t need to drain your savings account, especially when you’re just beginning. Basic recreational handcycles range from $1,000 to $2,000, offering good maneuverability on paved surfaces without the higher cost of racing models.
Consider these cost-saving approaches:
- Explore used equipment through online marketplaces like eBay or specialized retailers that offer discounted older models.
- Check local adaptive cycling centers that provide rentals or equipment trials before you commit to a purchase.
- Investigate funding options through insurance coverage, specialized grants, or community organizations that support adaptive sports.
Don’t overlook essential accessories like gloves for comfort and water bottles for hydration. As a beginner, you might want to consider specialized equipment like the Two-Into-One brake levers that enable operation of both brakes with one hand.
Connecting with experienced hand cyclists can provide valuable insight into reliable, affordable options that match your specific needs.
Building Strength and Skill With Beginner-Appropriate Handcycles
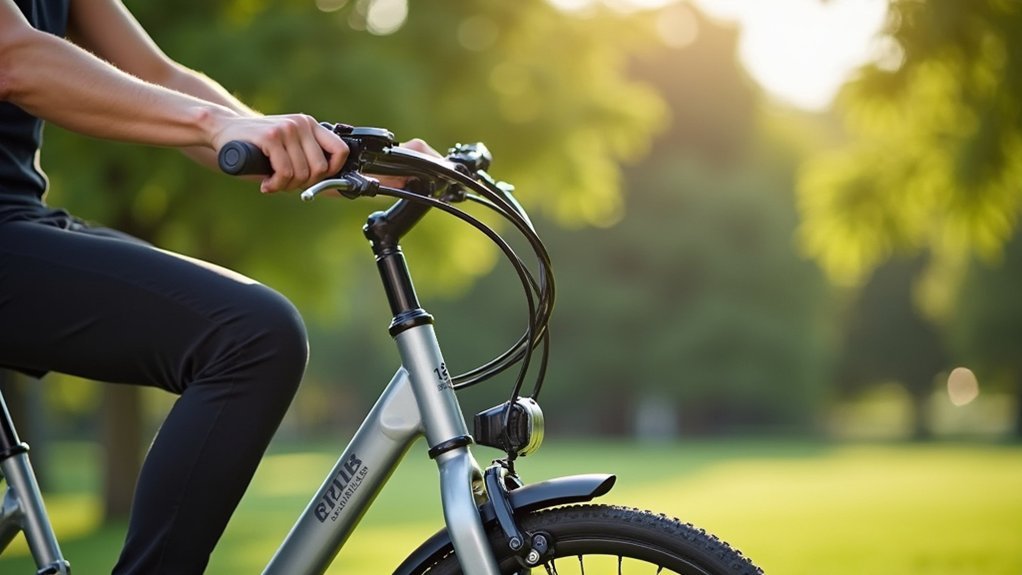
Begin your hand-cycling journey with lightweight recreational models that won’t overtax your muscles or stamina.
You’ll want to focus on developing upper-body strength through consistent, short sessions before attempting longer rides or challenging terrain.
Master fundamental skills like proper hand positioning and smooth gear shifts before progressing to more advanced techniques or equipment.
Start Light, Progress Gradually
The journey into hand-cycling should mirror your body’s capacity to adapt, making it essential to start with manageable equipment and distances. Choose lighter handcycles (25-30 lbs) that offer easier maneuverability and handling, allowing you to develop skills without unnecessary strain. Hand-cycling relies predominantly on upper-body strength for propulsion, making proper equipment selection crucial for beginners.
Begin on forgiving terrain like paved roads or flat trails while you build confidence. Your muscles need time to strengthen and develop the endurance required for longer rides.
- Start with short 15-20 minute sessions, gradually increasing as your stamina improves.
- Focus on proper technique and posture before attempting more challenging routes.
- Consider joining adaptive cycling communities for motivation and guidance from experienced riders.
Remember to listen to your body and progress at a pace that feels comfortable and sustainable.
Focus on Upper-Body Conditioning
Successful hand-cycling requires more than just the right equipment—it demands specific upper body conditioning tailored to this unique sport. Your shoulders, arms, upper back, chest, and core muscles all work together when hand-cycling, making strength development essential for performance and injury prevention.
Begin with a 20-minute workout routine focusing on wrist and forearm strength to improve grip control. As you build endurance through regular practice sessions, you’ll be able to sustain longer rides without excessive fatigue.
Remember that proper posture during rides efficiently transfers power while reducing strain. You’ll find that consistent training not only enhances your cycling experience but also helps prevent common overuse injuries.
Many beginners benefit from joining group rides, which provide both technical guidance and motivational support as you develop your hand-cycling skills.
Master Basics First
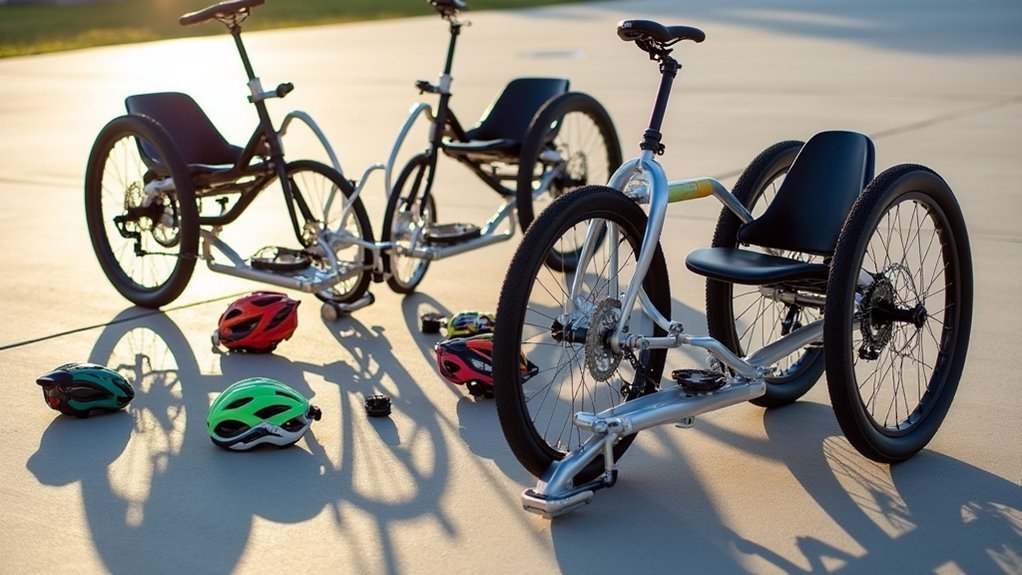
When starting your hand-cycling journey, selecting the right equipment dramatically impacts your learning curve and overall experience. Focus on handcycles with reclined seating positions to reduce joint strain and promote comfort during your initial training sessions.
As you build foundational skills, prioritize these essential techniques:
- Gradual progression – Begin with short, 15-20 minute rides on flat terrain before tackling longer distances or challenging routes.
- Proper arm positioning – Maintain slightly bent elbows while cycling to maximize power transfer and minimize fatigue.
- Gear management – Practice shifting between gears on various inclines to develop efficiency and prevent unnecessary strain.
Remember that balancing techniques are fundamental, especially if you’re shifting from other mobility devices. For riders with balance issues, a hand-operated tricycle design can provide greater stability while building confidence.
Consider joining a local adaptive cycling community for personalized guidance and motivation.
Frequently Asked Questions
How Long Does It Typically Take to Learn Handcycling Skills?
You’ll master basic handcycling skills in a few weeks with consistent practice. Your progress depends on practice frequency, prior cycling experience, physical ability, and quality of instruction. Different terrains require additional adaptation time.
Can Adaptive Handcycles Accommodate Progressive Conditions or Changing Abilities?
Yes, adaptive handcycles can accommodate your changing abilities. You’ll find adjustable seating, trunk support, pedal height, and modular frames that adapt as your condition progresses, keeping you cycling despite physical changes over time.
Are Indoor Training Options Available for Off-Season Practice?
Yes, you’ll find several indoor training options for off-season practice. You can use virtual training software, arm ergometers, adapted spin classes, manual resistance machines, and specialized training apps to maintain your handcycling fitness year-round.
How Do Weather Conditions Affect Different Handcycle Models?
Weather conditions impact your handcycle considerably. Upright models struggle in wind due to higher centers of gravity. Rain reduces traction on all models. You’ll need specialized tires for off-road riding in muddy conditions.
What Maintenance Schedule Should Beginners Follow for Handcycles?
Clean your handcycle weekly, check bolts and tire pressure monthly, and lubricate chains every 2-3 weeks. Inspect brake pads and wheel wear quarterly. Schedule professional maintenance annually to guarantee safety and performance.
In Summary
As you begin your hand-cycling journey, you’ll find that starting with the right equipment makes all the difference. Don’t overwhelm yourself with high-end gear immediately. Focus on safety essentials, proper seating, and a handcycle that matches your current abilities. With accessible transfer solutions and budget-friendly options, you’re well-positioned to build strength gradually. Remember, the best equipment supports your specific needs while allowing room for growth.
Leave a Reply