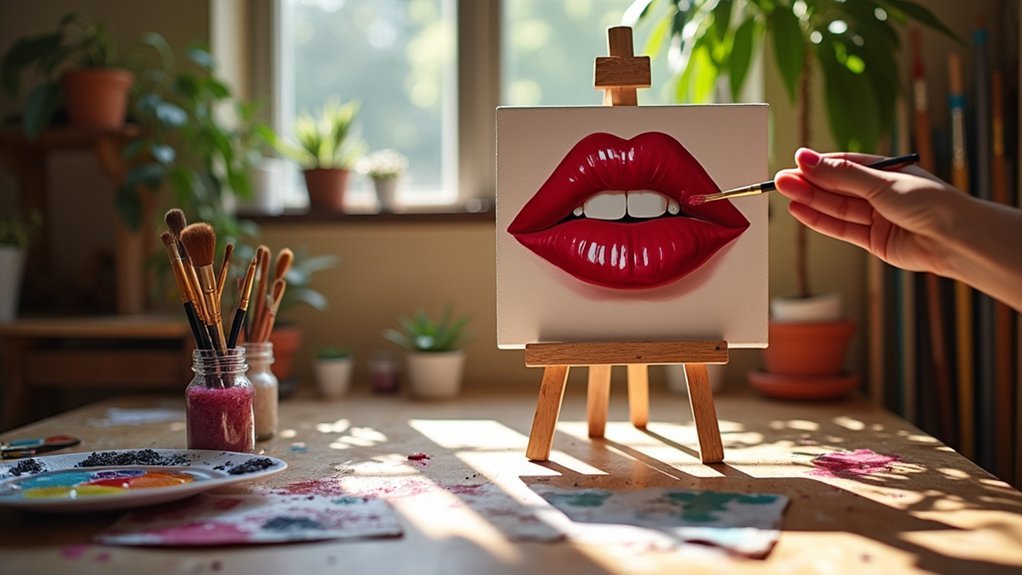
To start mouth painting, secure your brush about 1.5 cm inside your mouth, using your tongue and teeth to control angles. Choose lightweight brushes with enlarged handles or foam grips that better accommodate head positioning. Begin with short 5-10 minute practice sessions focusing on basic shapes and simple strokes. Don’t worry about perfection—develop your technique through repetition and celebrate small improvements. The journey ahead offers creative possibilities beyond what you might imagine.
Understanding Mouth Control and Brush Positioning
When you first attempt mouth painting, mastering proper brush control becomes the foundation for all your future artistic endeavors. Start by securing the brush in your mouth with about 1.5 cm inside, using your tongue and teeth to adjust angles for precision.
Brush control is the cornerstone of mouth painting—begin with proper positioning and master the angles for artistic freedom.
For stabilization, consider using velcro bands to support the mouthpiece. Our prototype uses PLA 3D filament for the brush mount to reduce weight and enhance precision. Apply paint moderately to prevent drips, and always tie back long hair to avoid entanglement.
Experiment with different brush positions for varied effects. Use the tip for precise lines, hold the brush flat for broad strokes, or angle it for textured effects. Control pressure to create everything from bold to delicate marks.
Working from a slight distance can help you avoid getting lost in details and maintain perspective on your composition.
Selecting Adaptive Brushes and Paint Consistency
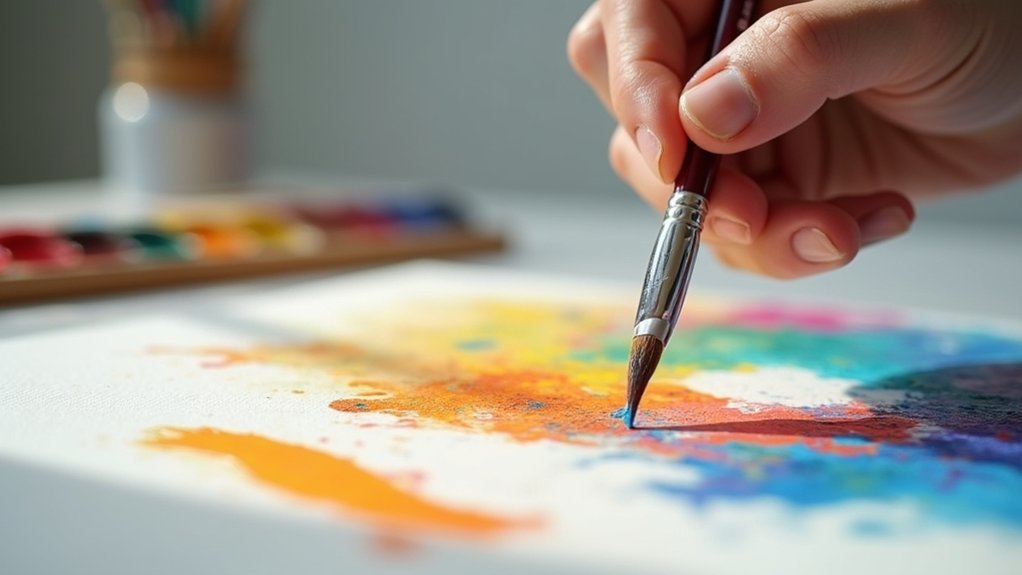
Now that you’ve developed some control with your mouth painting technique, the right tools and materials will greatly enhance your artistic experience.
Select brushes with enlarged handles or add foam grippers that can be customized to your specific needs. Paint consistency is vital—too thick and you’ll strain your mouth muscles; too thin and you’ll lose control. Ensure your JavaScript is enabled when using online painting tutorials and resources for a complete learning experience.
- Choose lightweight brushes with foam or silicone grips for better mouth control
- Look for adjustable-angle brushes that accommodate your natural head position
- Use water-based, non-toxic paints specifically designed for safety
- Thin acrylics or gouache with water to improve flow while maintaining color intensity
- Consider weighted handles to reduce tremors and improve stability
Simple Mouth Painting Exercises for Building Confidence

The journey to mastering mouth painting begins with simple exercises that build both skill and confidence. Start with timed sessions of 5-10 minutes to focus on process rather than perfection.
Try basic value studies to understand light and shadow on the mouth’s contours. Practice color mixing challenges by matching specific lip tones, which will enhance your ability to create realistic mouth paintings.
Limit yourself to basic shapes when painting lips initially – this simplifies the complex anatomy into manageable components. Daily repetition of these exercises develops essential muscle memory.
When you’re ready, experiment with different expressions to capture various emotions. Remember to celebrate small wins and focus on one difficulty at a time.
Embrace spontaneity and enjoy the creative process – your confidence will grow with each attempt. Consider creating a Pinterest board of mouth paintings that resonate with you to identify artistic styles that inspire your own work.
Frequently Asked Questions
How Do I Paint Realistic Teeth Without Making Them Look Too White?
You’ll achieve realistic teeth by using bone white or light grey instead of pure white. Add subtle shadows between teeth, use glazing techniques for depth, and match color to your subject’s skin tone.
Should I Paint Lips Before or After the Surrounding Facial Features?
Paint surrounding facial features first to establish proportions and lighting. This helps you position lips correctly and create smooth shifts between lips and skin. You’ll avoid misalignment issues and achieve more realistic results.
How Do I Capture Moisture and Reflections on Lips Effectively?
You’ll capture moisture on lips by painting small, sharp highlights over a base layer. Add contrasting bright and dark areas, use cool tones for reflections, and apply thin glazes for translucency rather than opaque strokes.
What Colors Create the Most Natural-Looking Lip Shadows?
For natural lip shadows, you’ll want to use earth tones like browns, taupes, and mauves. Match colors to your skin tone, and don’t forget to blend thoroughly. Subtle berry tones can add depth when applied lightly.
How Do Aging and Wrinkles Change Mouth Painting Techniques?
For aging mouths, you’ll need softer edges, cooler shadows at corners, and subtle texture for wrinkles. You’ll want to capture downturned shapes, nasolabial folds, and use layering techniques to represent thinning lips realistically.
Leave a Reply